Configuration
The 'Data Pipelines' menu allows an admin of the Exivity solution to manage Transcript 'Transformer' scripts. Transcript has its own language reference, which is fully covered in a separate chapter of this documentation.
As described in the Transcript Documentation, you are free to use your editor of choice to create and modify Transformers. However, the GUI also comes with a built-in Transformers-editor.
Creating Transformers
To create a new Transformer for Transcript, follow these steps:
- From the menu on the left, select Data Pipelines > Transformer
- To create a new Transformer to normalise and enrich USE Extractor consumption and lookup data, click the 'Create' button
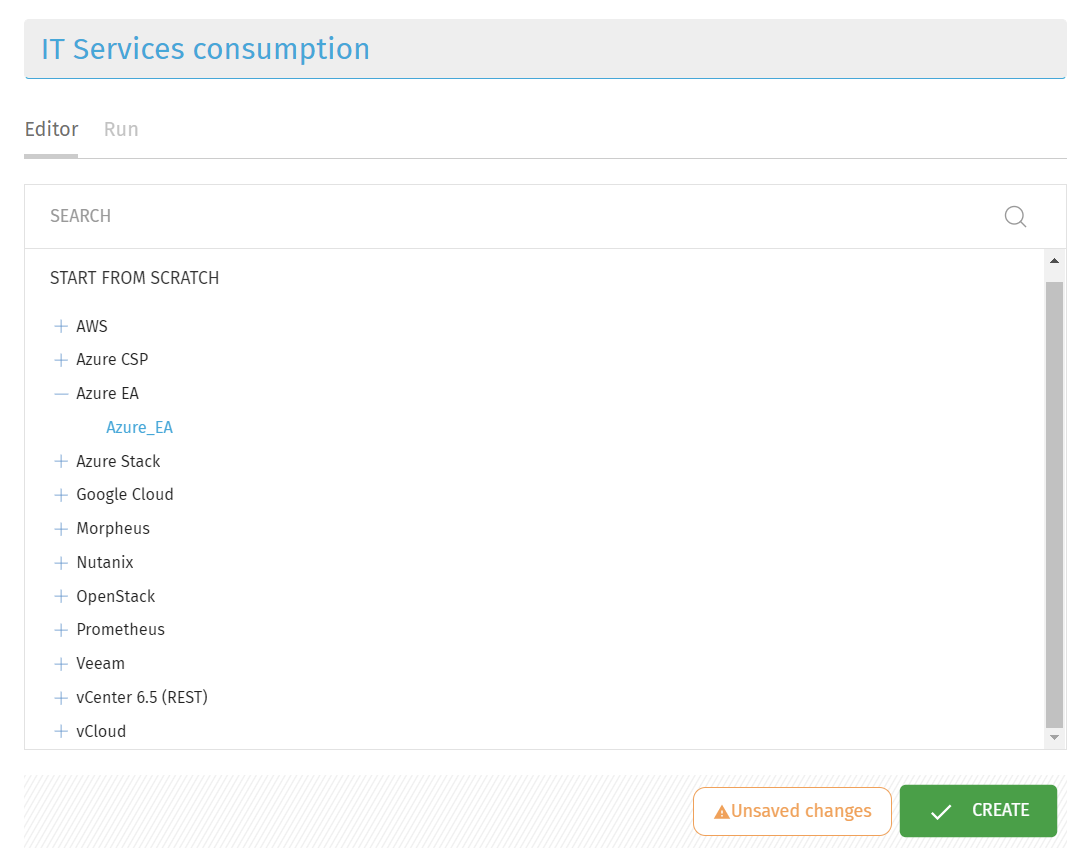
- When your Exivity instance has access to the Internet, it will pull in the latest set of Transformer Templates from our Github account. These templates are then presented to you, and you can pick one from the list to start Extracting. If you don't have access to the internet, you can download them directly from Github. You are also free to start creating your own Transformer from scratch.
-
Provide a meaningful name for your Transformer. When we create a Transformer for a consolidated bill of various IT resources we would, for example, name it: 'IT Services Consumption'.
-
When you're done creating your Transformer, click the Create at the bottom of the screen.
The Transformer editor has syntax highlighting and auto-completion, to simplify the development of your scripts
Edit and Delete Transformers
When you want to change or delete an existing Transformer, first select one from the list of Transformer that you want to change:
- When you've selected your Transformer from the Data Pipelines > Transformers list, you can change the Transformer script in the editor
- In this example, we're adding a 'services' statement using auto-completion, to simplify the creation of services
- In case you want to save your changes, click the Save button at the bottom of the Editor screen. To delete this Transformer, you can do so by clicking the Remove button, after which you'll receive a confirmation pop-up where you'll have to click OK.
Run and Schedule Transformers
To test your Transformer, you can execute or schedule it directly from the Glass interface:
- After you have selected the Transformer that you would like to run, click on the Run tab next to the Editor tab
- Manual execution of a Transformer can only be done for a single day. Provide the date you want to run this transformer for in dd-MM-yyyy format. You can also use the date picker, by clicking on the down facing arrow, on the right side of the date field
- When you've provided the required date, click 'Run Now' to execute the Transformer. After the Transformer has completed running, you will receive some success or failed message, after which you might need to make additional changes to your Transformer. For further investigations or troubleshooting, consult the "Log Viewer" found under the administration drop down menu top right of the screen.
- Once you're happy with your output, you can schedule the Transformer via the Schedule tab, which is located next to the Run tab at the top of the screen
- Transformer can be scheduled to run once a day at a specific time. Also, you should provide a date, which is provided by using an offset value. For example, if you want to execute this Transformer against yesterday's date with every scheduled run, you should provide a value there of -1
- When you're done with the schedule configuration, you may click the 'Schedule' button. In case you want to change or remove this schedule afterwards, click the Unschedule button.
As of version 1.6, it is recommend to use the Workflow function instead of the schedule tab to schedule transformers.