AWS Market Place
Introduction
Exivity can be deployed from the AWS Market Place allowing you to have a functional Exivity solution in a matter of minutes. This tutorial will get you up and running.
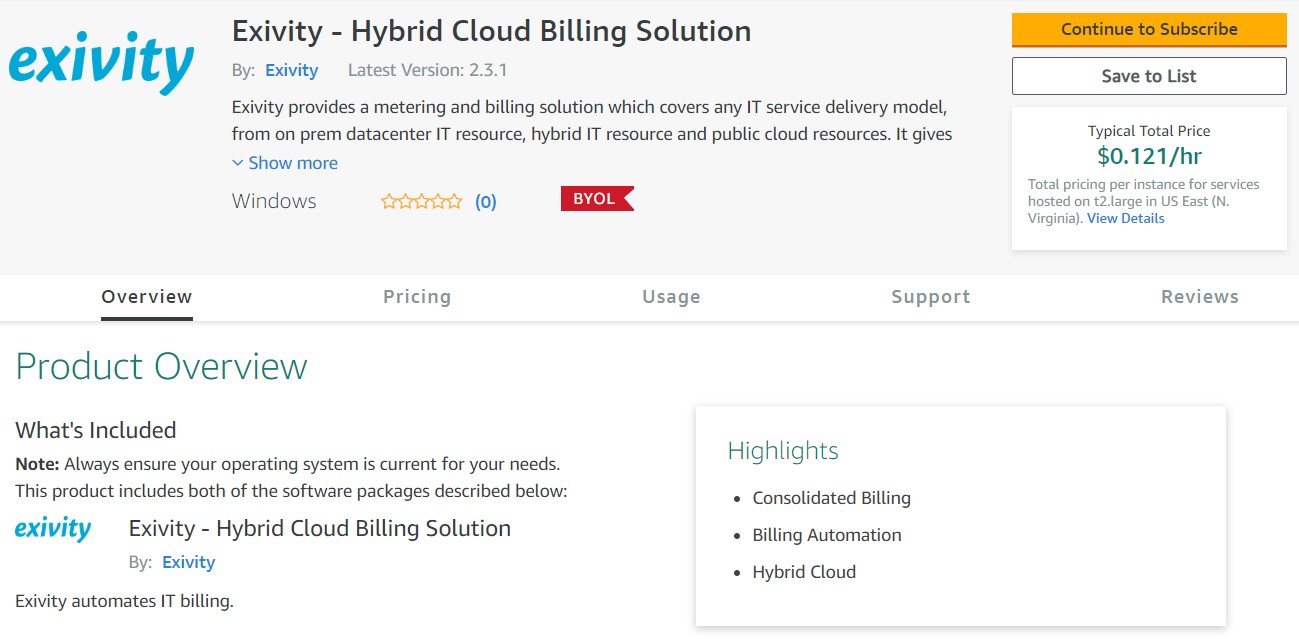
AWS Marketplace Offering
Login to your AWS portal and access the Exivity offering here.
- Click on Continue to Subscribe.
- Read our Terms and Conditions, and when ready, click on Continue to Configuration.
- Select the Region where you want to deploy Exivity and click on Continue to Launch.
- In Choose Action select Launch though EC2 and click on Launch to access the Deployment Wizard.
Deployment Wizard
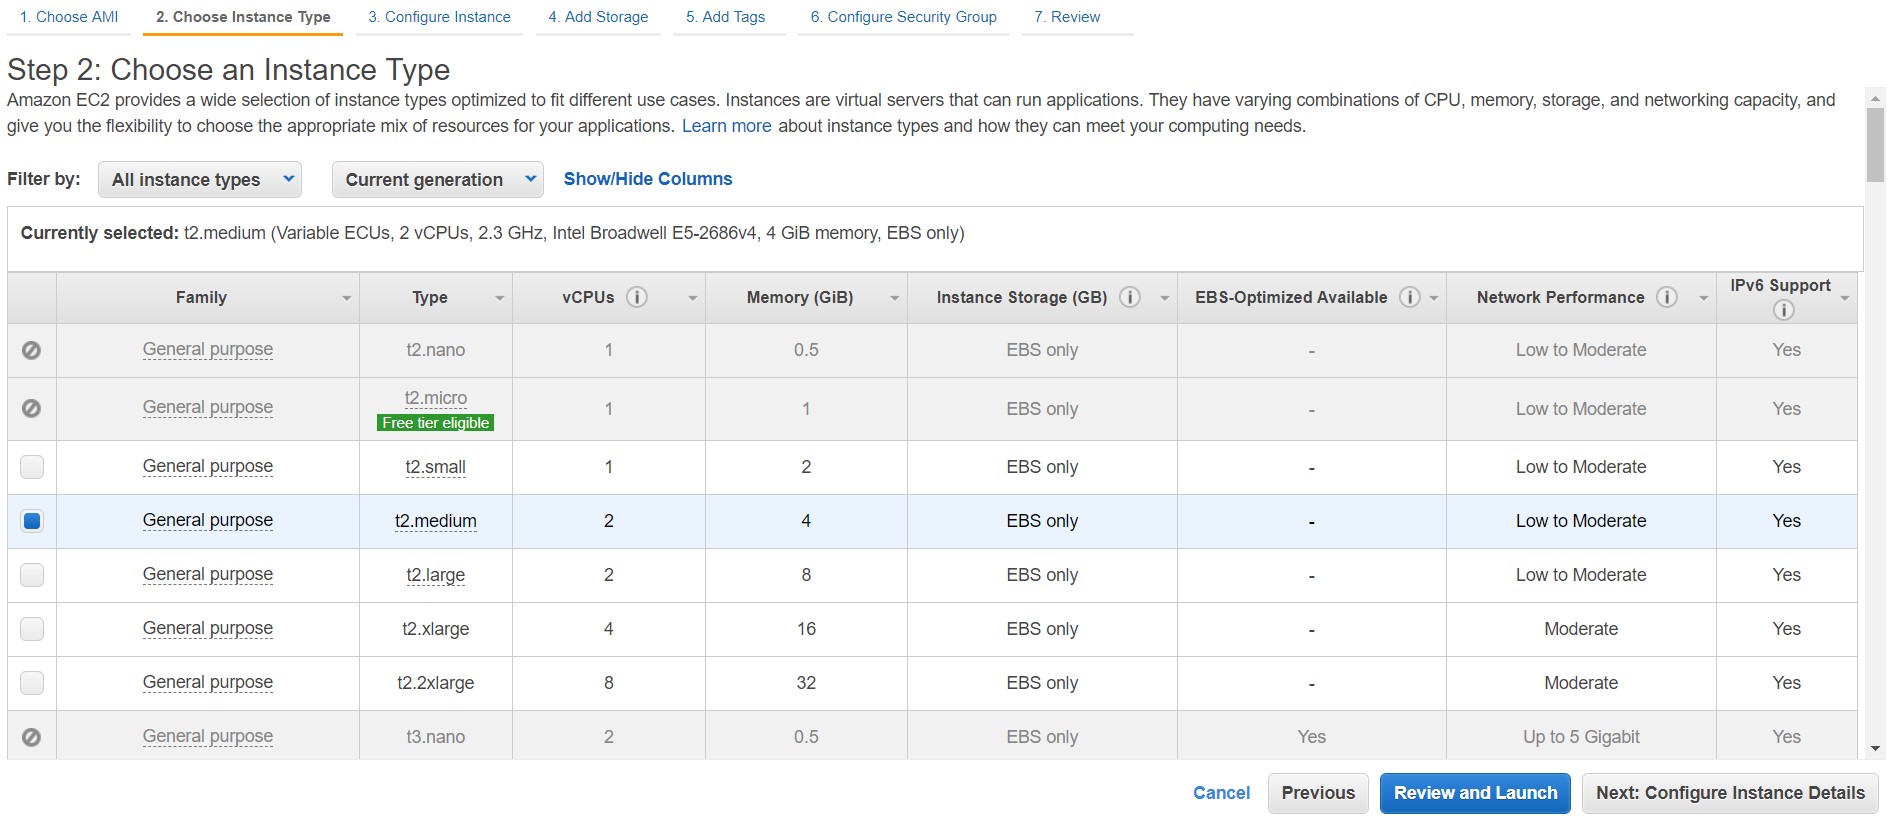
- In the first screen, try to pick a recommended VM size type that has enough CPU's and Memory (see this page for general system requirements). When you are done with your selection click on Next: Configure Instance Details.
- In this section, you can select your VPC Configuration, or leave the default values. When you are done with your configuration click on Next: Add Storage.
- In the Storage section, two drives are recommended, you can influence the Volume Type and the Size (GiB) parameters. When ready, click on Next: Add Tags.
- In the Tags section, include the tags that are meaningful to you, as a minimum, a Name tag is recommended. Click on Next: Configure Security Group.

- In the Security Group section, you can leave the default recommended security group or add more rules if needed. Click on Review and Launch.
- Review the details and click on Launch, select your preferred Key Pair to connect to the instance.
In a few minutes, your instance will be deployed, you can track the progress in your EC2 Dashboard:
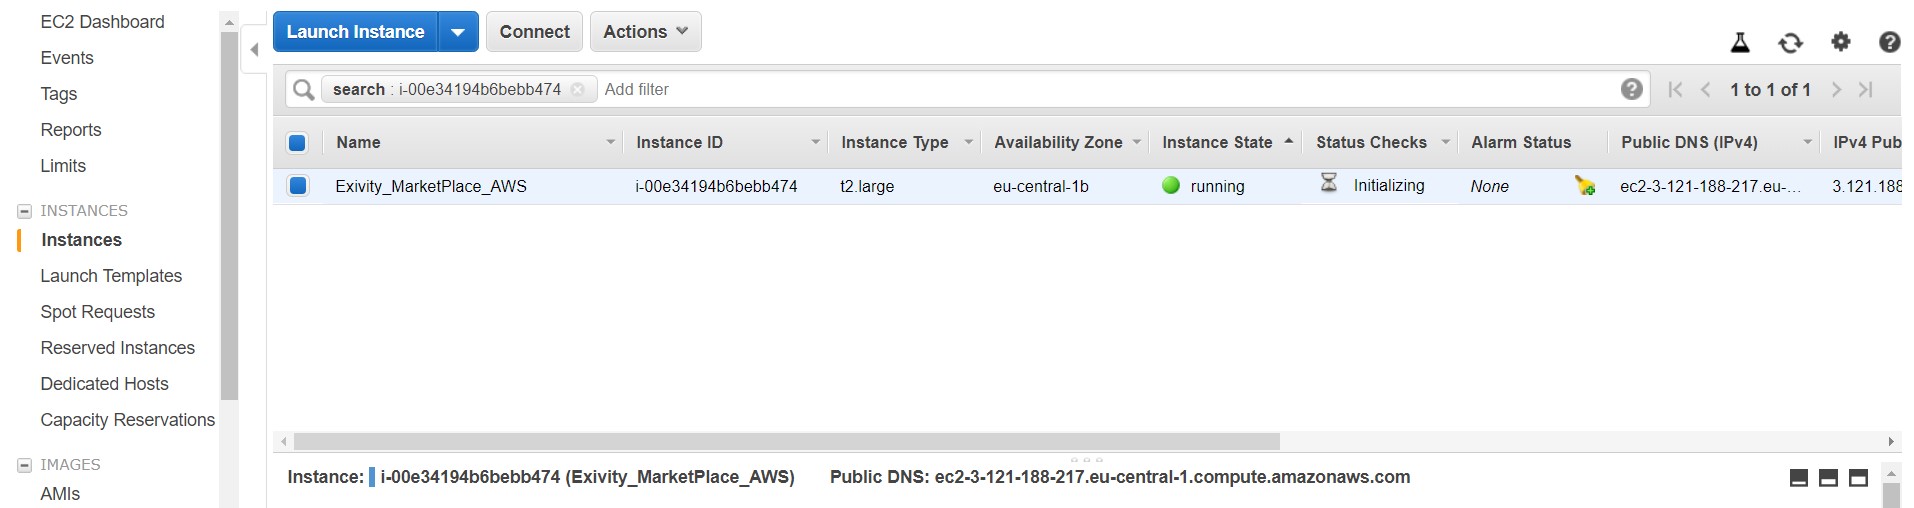
Write down the Public IP address / Public DNS and the Instance ID once they are available.

Connecting to your Exivity instance
You may need to log in first to your Exivity instance using a Remote Desktop client after the initial deployment has finished. To do so, connect to the IP address with your RDP client, and login with the username and password which you provided in the AWS portal during deployment of the VM. After you login, you will need to wait up to 15 minutes for the deployment to finish.
After this waiting period, you should be able to connect to your instance using the public IP address or DNS name of your Exivity instance considering the following default URL:
- https://<Your_Public_IP>
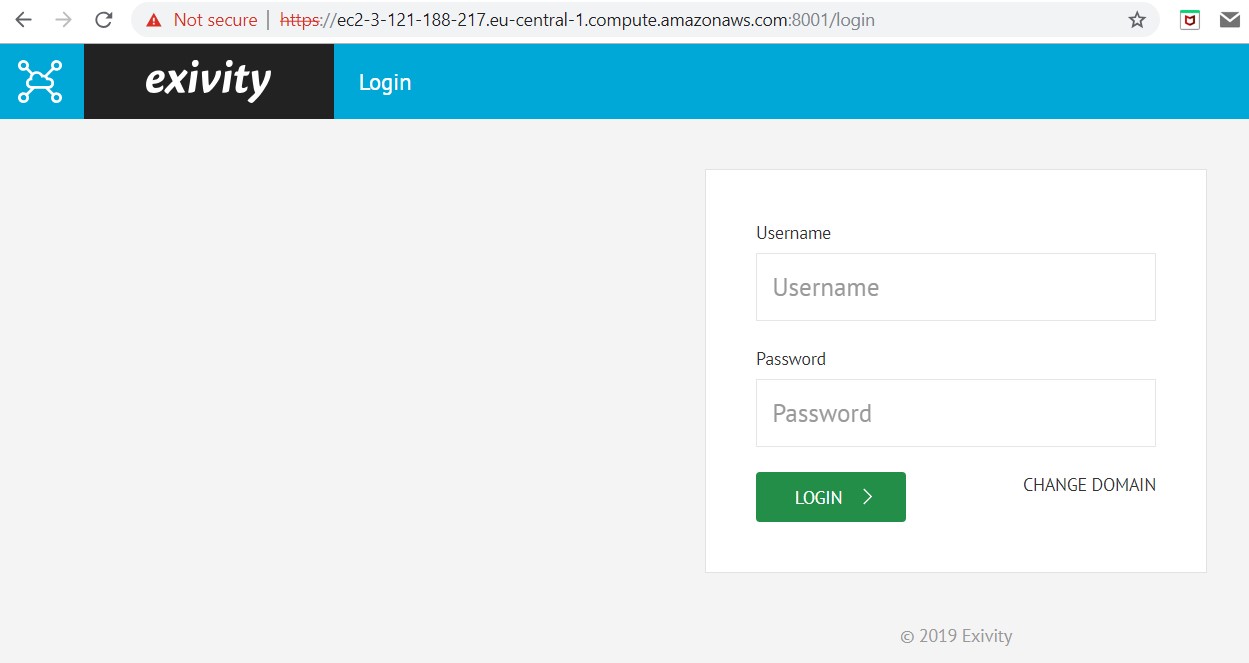
The default admin username is admin with password Instance ID.
By default no data is loaded into the system, so you'll have to create a new Extractor for obtaining consumption data and a Transformer to process that data. A Report Definition is then created to be able to report on your consumption metrics and costs.
Next Steps
A couple of getting started guides are provided here, but feel free to drop us an e-mail or create a ticket in our support portal. We will then assist you to get started for your specific use case.