Azure CSP
Introduction
When deploying the Azure CSP Extraction template for Exivity, some configuration is required within your Microsoft Cloud Solution Provider Portal. The following process must be completed in order to report on Azure CSP consumption:
- Create a Partner Center Web Application
- Configure Extractors for Azure CSP Usage, Billing & Ratecard
- Configure Transformers
- Create your Report
- Create your Workflows
It is necessary to create independent Extractors/Transformers for the Usage and Billing, the Usage Extractors will be retrieving the data daily giving an estimation of your daily costs. The Billing Extractor will consolidate the rates based on the blended costs per service for the billing period.
Create a Partner Center Web Application
Perform the following to create the Azure AD configured to access the Partner Center API
- Browse to Partner Center, https://partnercenter.microsoft.com, and log in using credentials that have admin agent and global admin privileges
- Click on the following Dashboard –> Account Settings –> App Management
 (1)-9412e0acec4330960d01d728822c7780.png)
- Click Add key to create a new Application Key for your App ID that can be used with Exivity.
Make sure to write down the App ID and its corresponding Key, since you will need these when configuring the Extractor later.
- Go to the Billing section.
- Open the last month's invoice in pdf format.
- Take note of your billing period
 (1)-f3fb0f94c9cb5925b86e53f1f177dea7.png)
Make sure to write down the billing period, since you will need it when configuring the Extractor later.
Configure Extractors for Azure CSP Usage, Billing & Ratecard
Go into the Exivity GUI and browse to Data Sources -> Extractors. Then click on Create Extractor and you should get a list of templates. Unfold Azure CSP and pick the usage template:
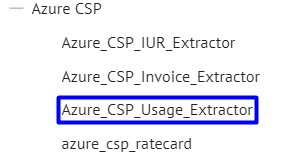
After selecting the template, click the green Create button on the bottom right. Now make sure to give the new Extractor a name in the field at the top:
-d812fd6a1e50ec328df2623e46e986bf.png)
Now click again on the green Create button at the bottom right. Then click on the Variables menu item:
-16e15272b50b1eed425abf2e1fdb7d77.png)
Now make sure to fill in your Client ID, Secret and your onmicrosoft.com domain. When required, you can encrypt security sensitive field using the lock button on the right of each field. Once you are filling in these details, click the Update button.
Now test the Extractor by going into the Run tab and providing a from and to date like in this example:
-e665dfd928fc2de52c10c47fcace81af.png)
Now click the Run Now button and confirm it works as expected:
-d4c83d80897f19dd299a9455a2f334c9.png)
Create a second extractor using the template Azure_CSP_Invoice_Extractor and give it a name.
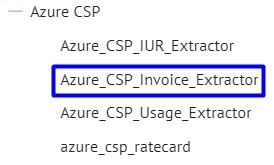
This extractor uses the same variables in the Variables menu item as the previous extractor. You can now test the extractor by going to the Run tab, this script uses 3 arguments:
- Positive offset: Starting on 0, it will retrieve the most recent invoice, a 1 will retrieve the previous report, etc.
- Year of the report: Year of the report you want to retrieve.
- Starting day of the billing period: If your billing period goes from 22nd to 21st, the input will be 22.
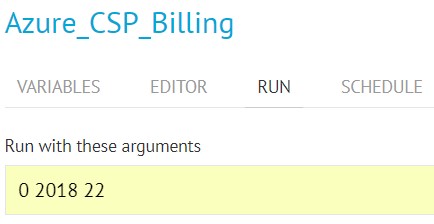
After filling the arguments you can test the extractor by clicking in Run Now.
Finally, follow the same steps for the Azure Rate Card Extractor, this extractor does not need any arguments.
Configure Transformers
Once you have successfully run your Azure CSP Usage, Billing & Rate Card Extractors, you can create the Transformers templates via Data Sources -> Transformers in the Exivity GUI. Browse to this location and click the Create Transformer button. You will need to create two separate transformers using these two templates:
The Azure_CSP_Daily-Usage Transformer will transform the daily usage data and the Azure_CSP_End-of-Month Transformer will consolidate the usage with the final blended rates.
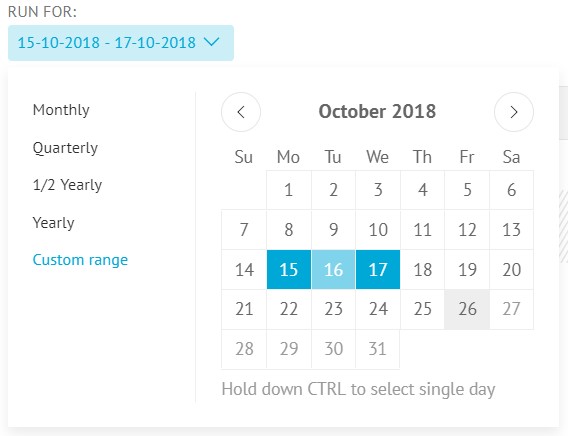
Make any changes that you feel necessary and then select the Run tab to execute it for a single day as a test.Make sure that when running the Transformer you select custom range in the drop-down menu labelled Run for and select the same day as for which you have extracted consumption data in the previous step.
Create a Report
Once you have run both your Extractor and Transformer successfully create a Report Definition via the menu option Reports > Definitions:

Select the column(s) by which you would like to break down the costs. Once you have created the report, you should then click the Prepare Report button after first making sure you have selected a valid date range from the date selector shown when preparing the report.

Once this is done you should be able to run any of Accounts, Instances, Services or Invoices report types located under the Report menu for the date range you prepared the report for.
Create your Workflows
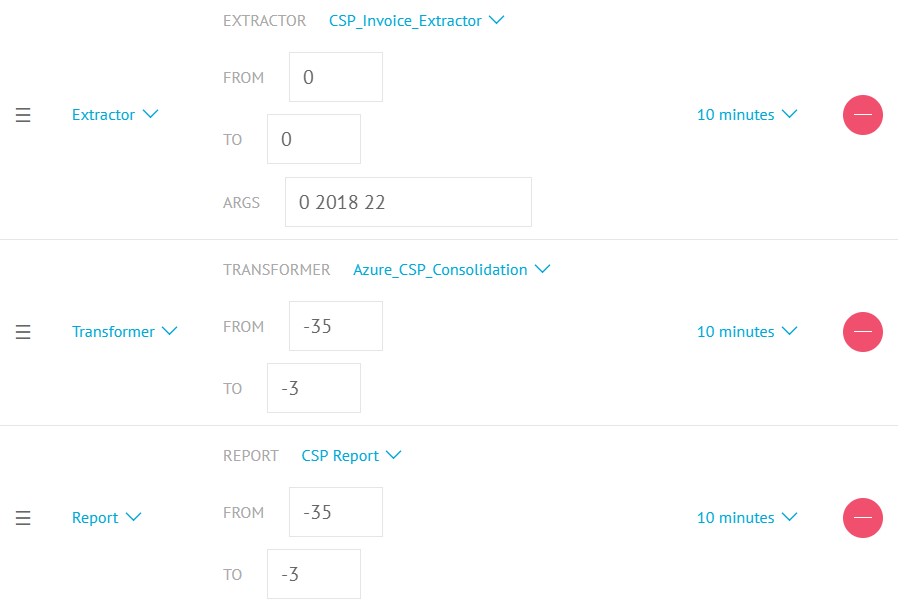
You may want to automate the CSP ETL process, you can achieve it by leveraging on the Exivity's Workflow capabilities. You will create two Workflows, one will run on a daily basis calculating the usage of your CSP subscriptions and the other one will run on a monthly basis to consolidate the service rates.
Start by browsing to Administration -> Workflows in the Exivity GUI and click on the +Create button.
Fill the Name and Description fields, in the SCHEDULES section configure the workflow to run on a daily basis at a convenient time.

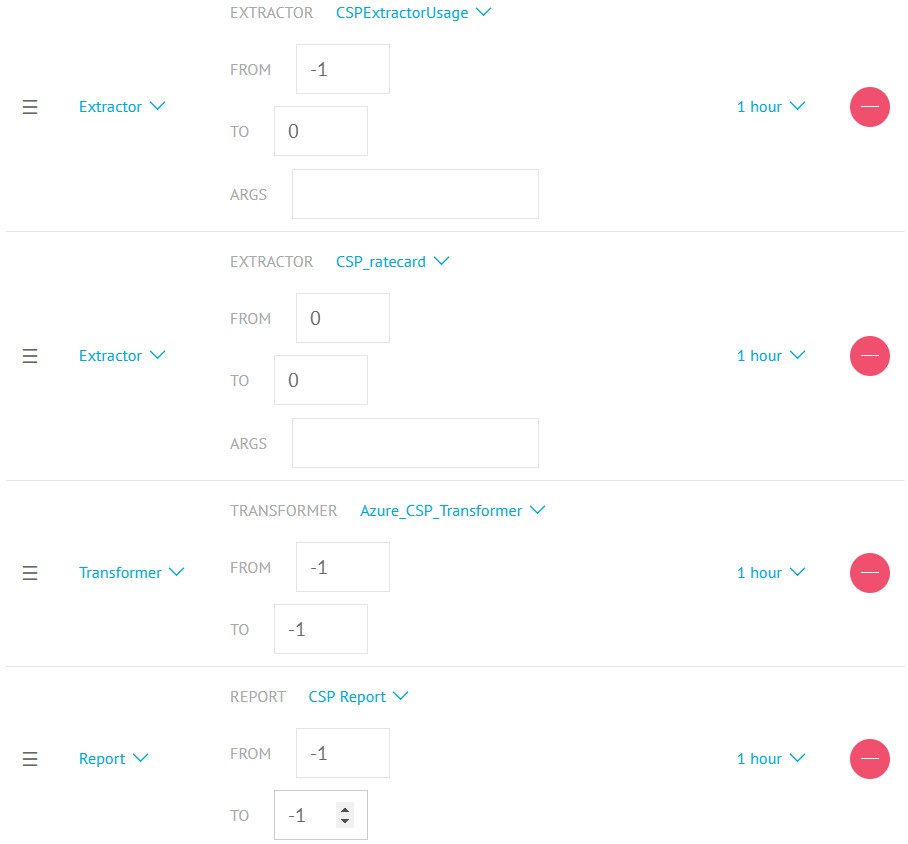
In the STEPS section you can create as many steps as needed by adding them with the + button. For the first daily workflow, a minimum of 4 steps are required, two steps for the Usage and Ratecard extractors, one for the Transformer and one for the Report. Make sure to input the right FROM and TO date offsets. Click on Update to finish the creation of your first Workflow.
Create a second Workflow, fill the Name, and Description fields and configure the SCHEDULES section to run on a monthly basis, preferably 2 to 3 days after your month's billing period has finished. For the monthly workflow, a minimum of 3 steps are required, one step for the Billing extractor, one for the Transformer and one for the Report. Make sure to input the right FROM and TO date offsets (to cover the entire billing period) and arguments. Click on Update to finish the creating of the second Workflow.
